Sunday, 25 March 2018

Swivel Fixings, Springs

I didn't get anything else done in January after rebuilding the swivel assemblies, and did nothing in February and much of March (on the Land Rover!).

Today I replaced the swivel assembly fixings that I'd ordered replacements for, by 2/2A part number, and found to be too small. The ones I ordered by Series 3 part numbers were the right size and they went on fine today. As I said before, these fixings were strengthened some time during the later 2A years, so my front axle fell in that window.

The next job is to give the suspension an overhaul, and I made a start on that today.

The verdict so far is:
  • A cold chisel and angle grinder are very useful tools!
  • The front springs just need a refurb, but the rear ones need replacing
  • The shock absorbers are not leaking; they offer smooth and firm resistance both ways
  • Shackles and spring plates just need cleaning up
  • New bushes required all round
  • New shackle pins required all round
  • New U-bolts required all round
Front NS spring as it came off today; this will get disassembled, cleaned up and oiled:


U-bolts need replacing, shocker and rubbers all seem fine (but will likely paint), and an example spring plate:

Saturday, 6 January 2018

Back together

I finished rebuilding the front N/S today, new wheel brake parts and bearings on and a new drum.


This completes the first round of work. Hub, brake and swivel parts replaced or restored. I have some larger fixings to order and fit to the swivel pins as this is a late 2A and they changed size some time around 1966.. once that's done, new axle breathers and fresh gear oil in the diffs and swivel housings.. see if she leaks.. :)

Thursday, 4 January 2018

N/S Swivel Hub Back On

Stripped and refurb'd the N/S swivel today. This one had more corrosion than the other side, but a rust removal disc and progressive grades of wet and dry got it looking decent. When my son restores this Land Rover he can fit entirely new swivels both sides. ;-)

Looking good. Before and after shots below. Next session should see her out on the trolley jack, half shaft back in, and new brake and wheel hub parts fitted..

Before

New axle case oil seal in place and ready to refit the swivel..

After

Saturday, 30 December 2017

N/S Half Shaft Out

I worked some trolley jack magic today to get her out far enough to be able to remove the N/S half shaft, and the other swivel hub I need to rebuild..


Repair Stud

Having fit the first of the rebuilt swivel hubs I went to fit the new hub parts and brake drum and get the wheel back on. What could go wrong?

First, I couldn't get the hub back on the stub axle. It was definitely the same stub axle carrier I took off that side as it's the one with the land that can be turned by hand. I tried the old inner bearing, and found that quite tricky too. The angle had to be just right and even then only one in ten attempts to get it over the lip of the stub axle was successful. I polished the stub off with the angle grinder and rust and paint removal disc. That didn't make much difference, but I put the new greased bearing back in the hub and went about it more carefully. After a couple of minutes it slid on - just as a good song came on the radio.. ;-)

Next, the new brake drum wouldn't go on. The old one slid straight on, but not the new one. I started tapping around it gently with a rubber mallet to try and work out the obstruction - and a wheel stud popped out!

Indoors, with the stud, I found it was actually a repair stud:


I assumed due to its 'pull-in' fit it had come loose when the hub was off and had been at an angle preventing the new brake drum to pass on. I put it in, and when I tried to find a wheel nut to pull it back into the hub with - I eventually worked out only one of my wheel nuts fit it, and that it was very slightly bigger than the original studs. Then the penny dropped, and I drilled out the right hole in the new brake drum ever so slightly - and it went on.

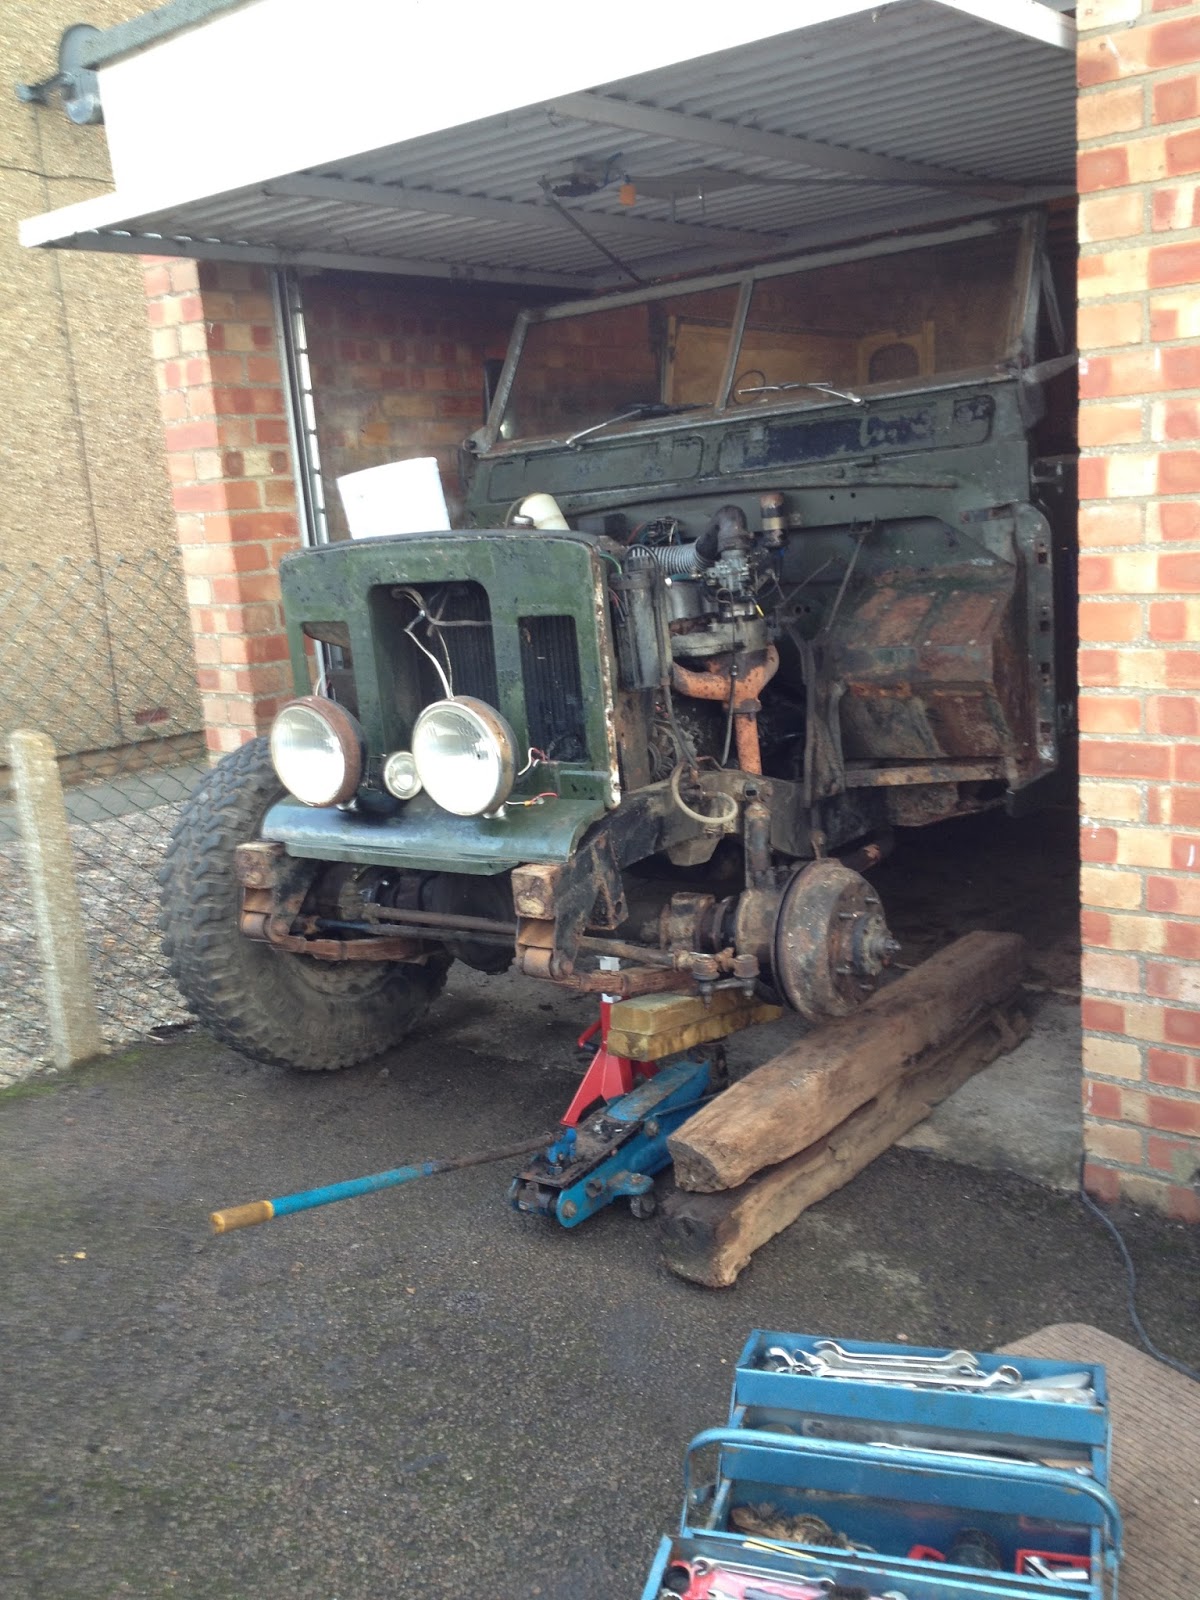
I tested the tension on the steering arm before connecting everything back up on that side and got movement at around 15lb, which is just right. Next I put the wheel back on and set about getting the Land Rover out the garage enough to remove the half shaft on the other side to get that swivel hub off for a rebuild..

Saturday, 23 December 2017

O/S Swivel Hub Back On

I've managed to get the O/S swivel hub back together and back on the Land Rover. New axle case oil seal, gaskets, swivel housing seal, retainer, top pin, bottom bearing, and fixings. I also fit new a steering lock stop bolt and plate, and jack stop (it's meant to be there..).

I still need to check the shims are set right by putting a spring balance on the steering arm, and I need to order some new nuts for the steering arm bracket studs on the underside. I ordered by part number from my 2/2A parts catalogue, but these parts were beefed up somewhere around 1966, and as mine's a '69 I need to order with part numbers from the Series 3 catalogue. I can replace those in situ when I get them in the new year.

Tidied up stub axle carrier and new brake shoes and cylinder also back in place. If things continue I could get onto the N/S before the end of my Christmas break.


Saturday, 16 December 2017

Stub Axle Carriers

I got half an hour today so I decided while I wait for new bolts, studs, and axle case oil seals to arrive I would clean up the stub axle carriers and fit new lands (distance pieces).

When I stripped the OS hub I found the land was loose that side, so I cracked it off with a cold chisel and ordered two new ones. When I cleaned that side up today and fit the new land, I only needed a bit of WD40 to fit it by hand, and I can still turn it by hand now it's on. The NS was a different story though. The land was much harder to remove, and fitting the new one required heat and a mallet and a few minutes working it down into place. Now it's on, I can't turn it by hand at all.

Which leaves me wondering why one side is "loose" (there is no gap, but I can turn it by hand and could remove it by hand). The stub axle pieces look identical to the eye, but the OS is clearly very slightly narrower (uniformly, all the way down, not just worn or narrower at the lip or at one point..).

Just a slight difference in the precision of the machining back then I suppose. As a spacer it makes no difference that I can turn it by hand.